
Everything I Learned from a Bobbi Brown Masterclass
A couple months back I had the absolute pleasure of attending the Hunters and Heels Instameet. Lauren put together an incredible day of activities in the most stunning Herefordshire setting. There were about eighty or so of us in attendance and it was fun to chat with likeminded people—and some Instagram friends that I've now finally met in real life.
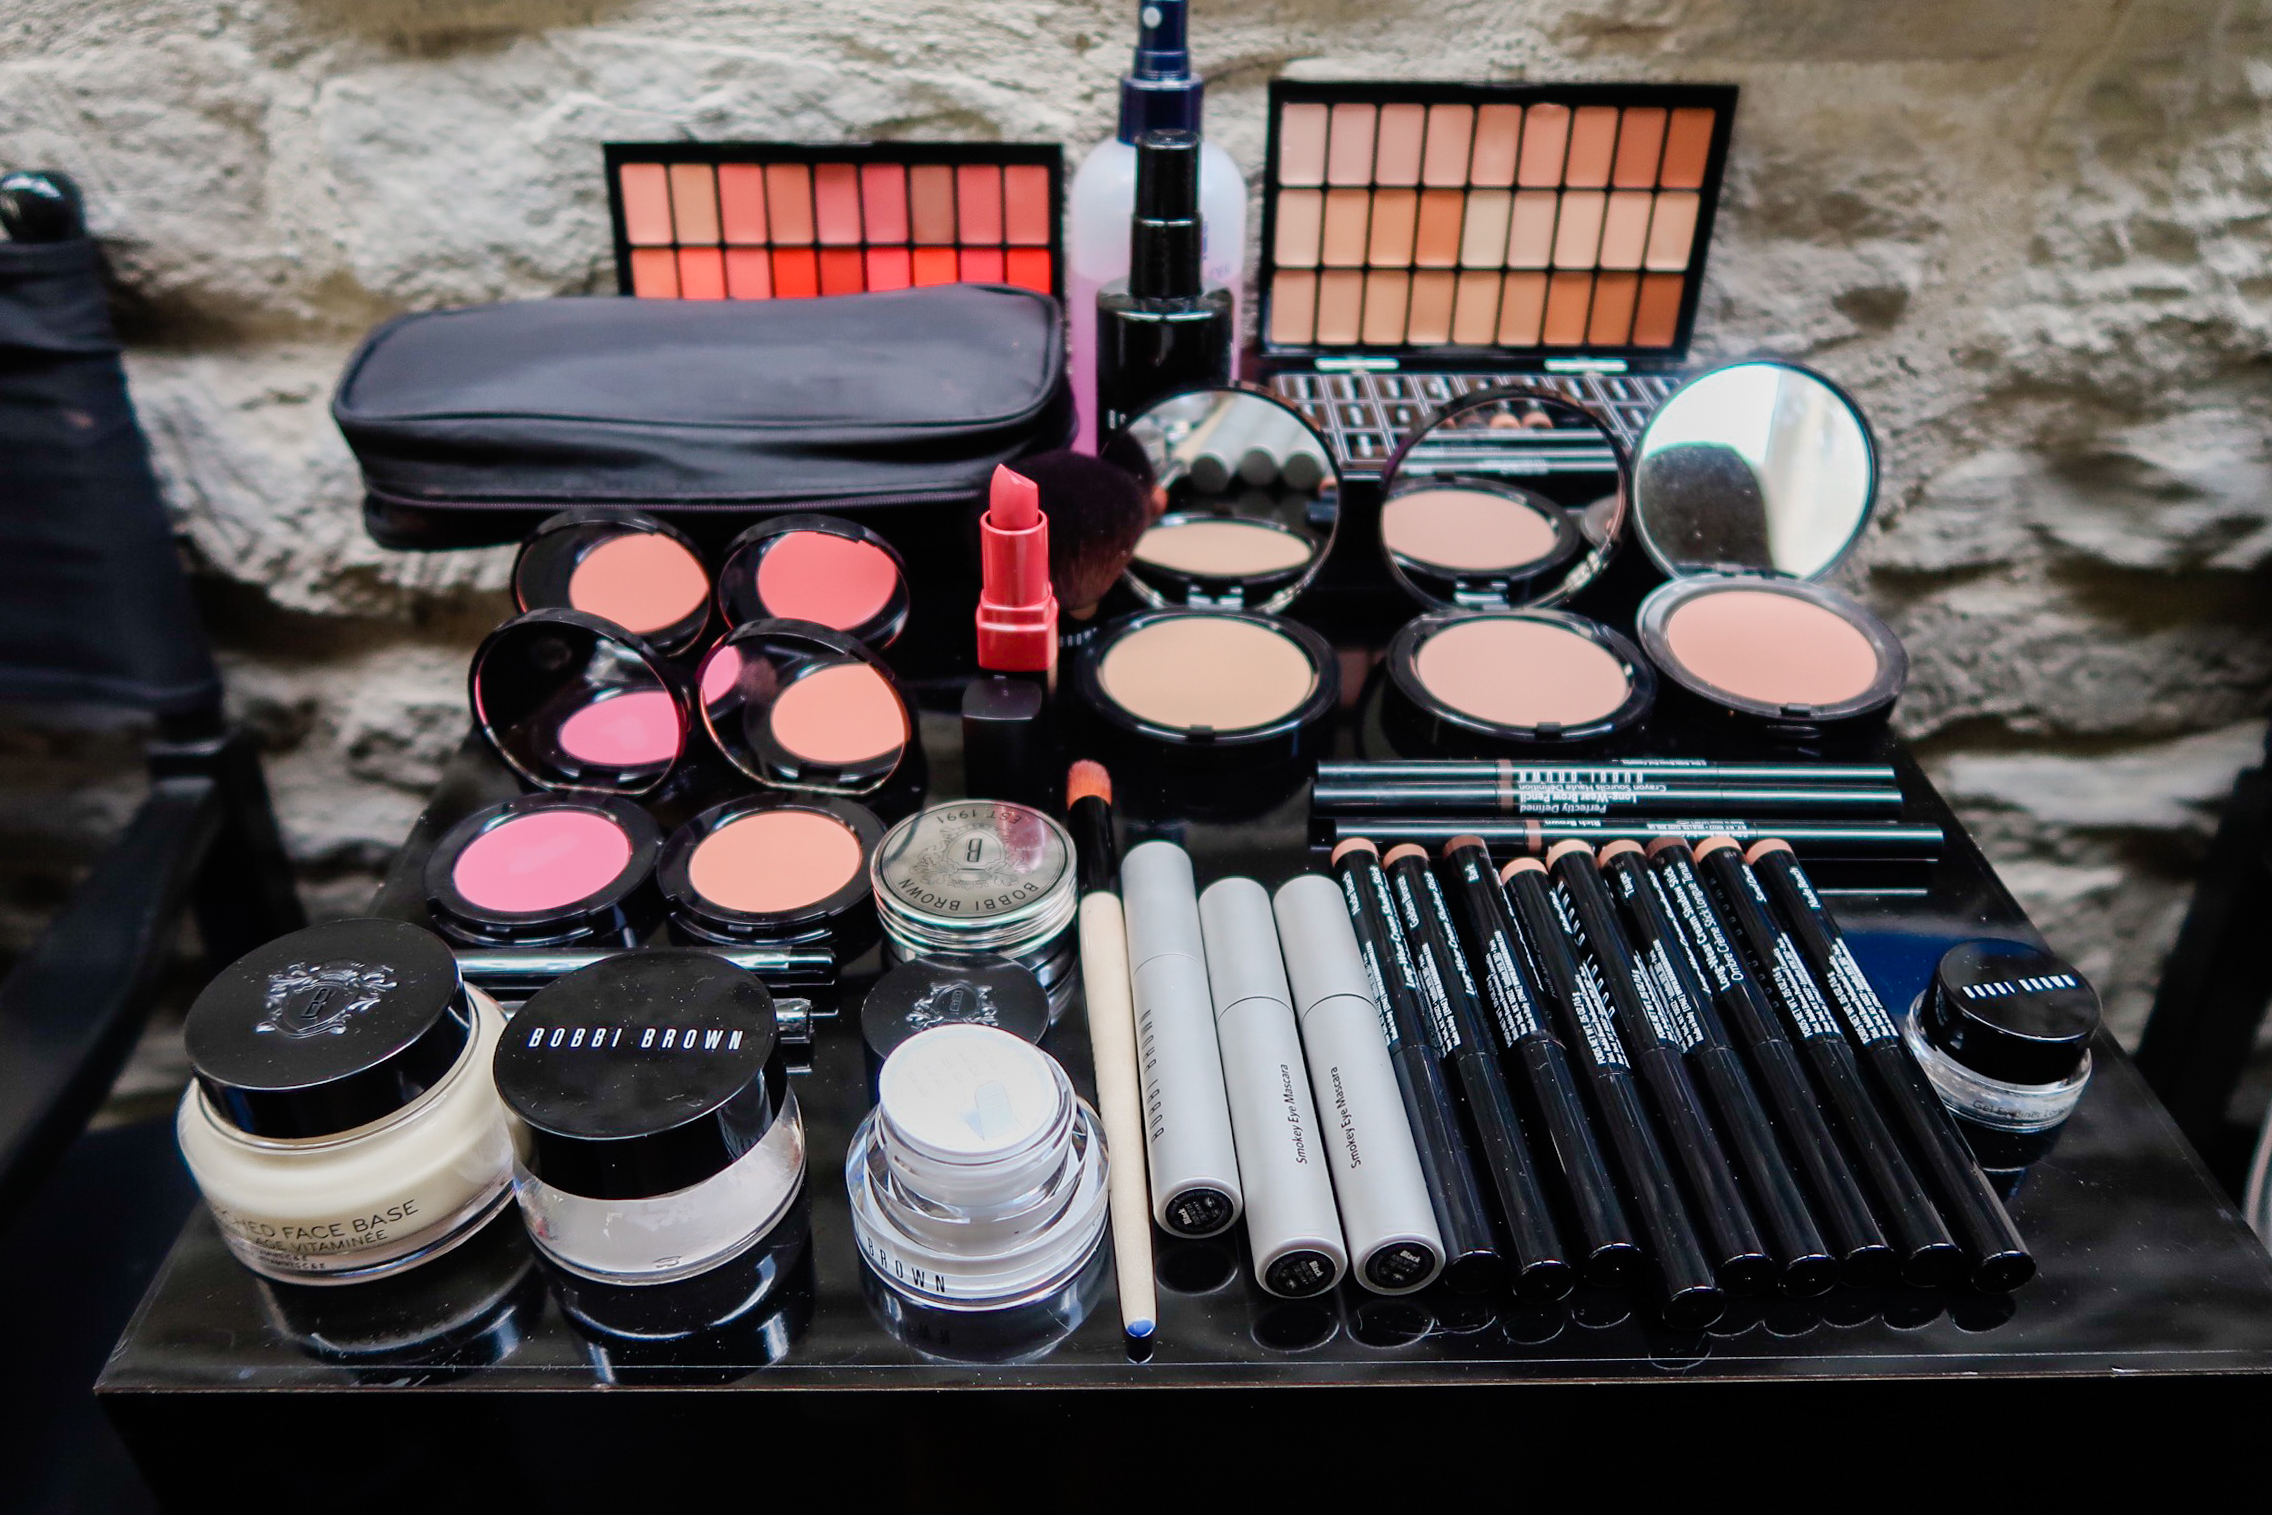
The meetup kicked off with a cocktail in the courtyard of Lemore Manor and throughout the day included plenty of mingling intermixed with a light lunch, afternoon tea, photo ops, and a flower crown workshop. But the highlight for me, hands down, was a Bobbi Brown masterclass led by Ashley Griffiths. She selected an attendee and took us step by step through the process of applying an everyday makeup look. We were able to ask questions throughout, then afterwards, we each got 1:1 time with a Bobbi Brown makeup artist to delve further into any areas we'd want help with! (I choose the ever-tricky liquid eyeliner application!)
Despite holding a glass of bubbly in one hand, I took rigorous notes throughout because I truly found these tips so helpful—and I think you might too! I'm sharing all my class notes below. (Don't worry, there won't be a test!)
Step 1: Cleanse + Tone
Always begin with a cleansed face, followed by toner—they've used Face Tonic Toner.
Step 2: The Base Layers
Our eyes have 50% thinner skin than the rest of our face, so it's important to use a different lotion here than the rest of our face—they've chosen Vitamin Enriched Face Base and then extra repair eye cream for around on on the eyes.
Since the pores on our lips are similar to our eyes, we can also use the eye cream there too.
If not, she suggest going with an SPF lip balm (where we typically tend to go sans sun care).
Step 3: Correct + Conceal
Corrector goes underneath concealer to neutralize color, kind of like how you might do a primer before painting a wall and is important for those ever-tricky under eye areas.
If your skin has a brown-ish undertone, go with a peach corrector. If it has pink, blue or purple undertones, go with a pinkish hue (Ashley used Bisque here).
Ashly said like how you'd wear a pair of Spanx, it's important to blend the corrector down to the cheek or else it will emphasize the discolored areas

Step 4: Foundation
Now we're onto foundation! In the class, they've used a Skin Foundation Stick (rather than the more common liquid or powder). Draw it onto skin, then buff it in with a foundation brush.
Why the stick? The coverage can be really specific and buildable—no need to cover areas that don't need it!
(I've never tried a stick - I'm a liquid foundation person, but this class has me convinced to try it!)
Step 5: Bronze + Blush
Now to add some color with bronzer and blusher.
For bronzer, think how you'd naturally tan in the sun—some of us go golden, so choose a cinnamon shade, while some of us don't tan whatsoever (or just burn!), so go with a bronzer that has a pink or peach tone to it.
With application, again, think where the sun would naturally hit and apply there—around the hairline and on your cheekbones, nose and chin.
For blusher, Ashley went with a Pot Rouge that has a cream consistency. She suggested using a peach tone for summer and pink for winter (or when you look a bit tired). Another good lesson! I've never even considered switching blush with the seasons.
Like the bronzer, choose a color that your skin would naturally be when you blush and to apply, smile, then apply on the apples of your cheeks.

Step 6: Brows
Time to get the brows together (not literally though, don't do that!).
Ashley suggested always doing brows before eyeshadow and to begin by buffing the brow with a brush to prep for the eye pencil. This creates a clean surface on which to apply the product.
Next, brush the brows upwards with a spoolie (yep, I had no idea that's what this tool was called either) and then with your pencil, start by filling in the brow just shy of the front, work the pencil towards the tail and then do the front of the brow last.
It's always good to get help choosing the right color pencil, but Ashley said to always go with a cool tone no matter what the color.
Step 7: The Eyes
And now for the eyes!
On our blogger model, Ashley used a Cream Shadow Stick (which I already love and use) and applied it all over the lid and right under the lash line.
I was most interested in her tips for applying gel eyeliner (as that's the area I struggle with the most, makeup-wise). She started by applying small dots and dashes on the lash line and then connecting them. And a seriously good #protip: put a mirror below your chin and look down at it while doing your liner for easier application!
The final step was a little bronzer along the creases of the eyes to define them.

Featured Product: Crushed Lip Color
This lipstick-meets-balm is my new go-to lip color. It's easy (and relatively foolproof) to apply and incredibly wearable. I don't often wear lipstick and I find balm a bit boring. This is the perfect combination of the two and I reach for i nearly every day!
Step 8: The Finishing Touches
The finishing touches make the entire look come together and might also just be the easiest of all the steps!
Ashley applied Smokey Eye Mascara (I currently use the Eye Opening Mascara and love it!), Crushed Lip Color and finally some face mist to set the whole look.
We received the Crush Lip Color in our Instameet goody bag and it's become a firm favorite of mine (as soon as I spy a sale, I'll be stocking up!).
I hope your found that as helpful as I did—as I mentioned, I'm a bit of a novice when it comes to makeup, so I love to learn as much as I can. I found this class so helpful, so knew I needed to document and share it!
Until next time,
- Brenda
